
Struggling with resin buildup or burnt residue on your band saw blade? You feel frustrated when sticky debris ruins your cutting accuracy and wastes time. Let’s handle this problem now.
Cleaning a band saw blade involves regular brushing, strategic solvent use, and proper lubrication to prevent debris buildup. These steps help you maintain precise cuts, extend blade life, and avoid costly replacements.

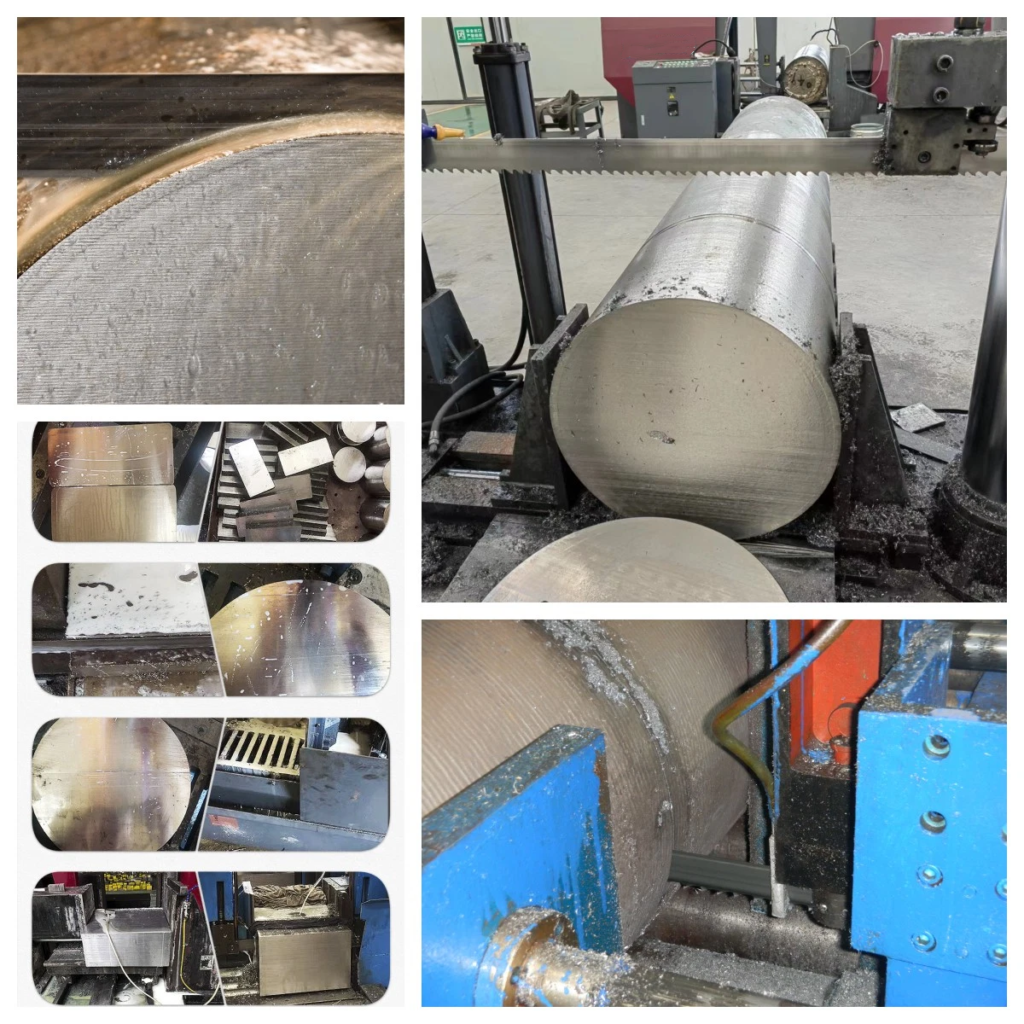
Cleaning a Band Saw Blade
Dust and resin can accumulate quickly if you skip routine cleaning. I learned that consistent blade maintenance is essential for buyers who want longer blade life. Let me share the methods I use and trust.
How do you clean a gummed-up bandsaw blade?
Do you notice your cuts becoming rough, or do you see smoke during sawing? You might have a band saw blade gummed up with resin or debris.
To clean a gummed-up blade, first remove loose debris with a brush, then soak it in a cleaning solvent, and finally wipe or scrub away the remaining residue.
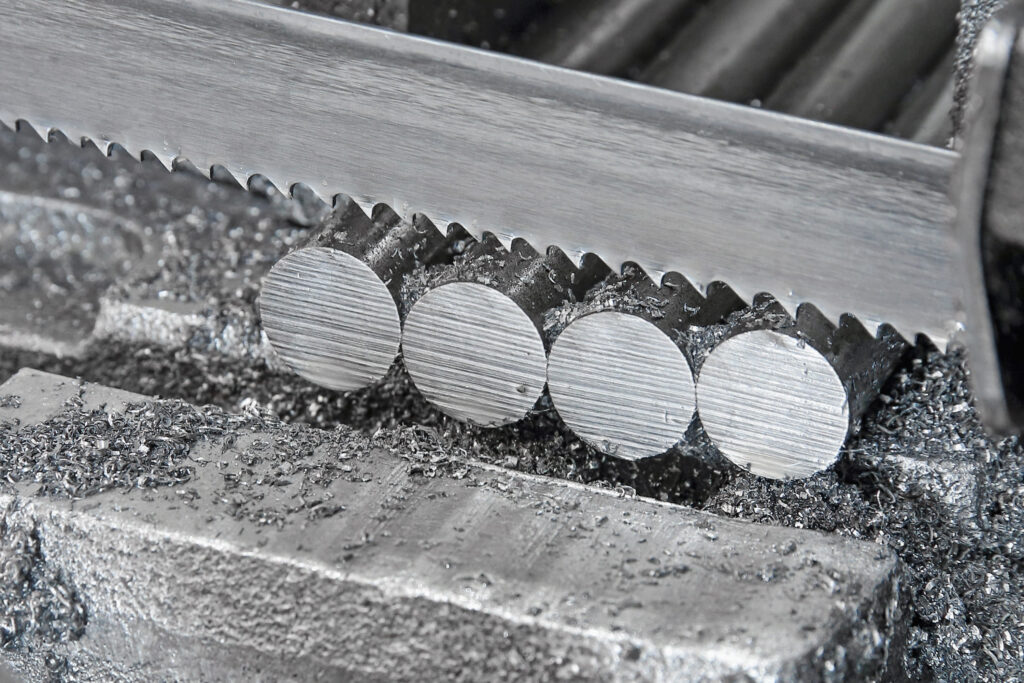
Gummed-up Band Saw Blade
Dealing with sticky buildup can be frustrating. I have faced this issue many times. I realized that using the right cleaning approach can solve the problem quickly and preserve the blade’s sharpness.
Dive deeper into cleaning a gummed-up band saw blade
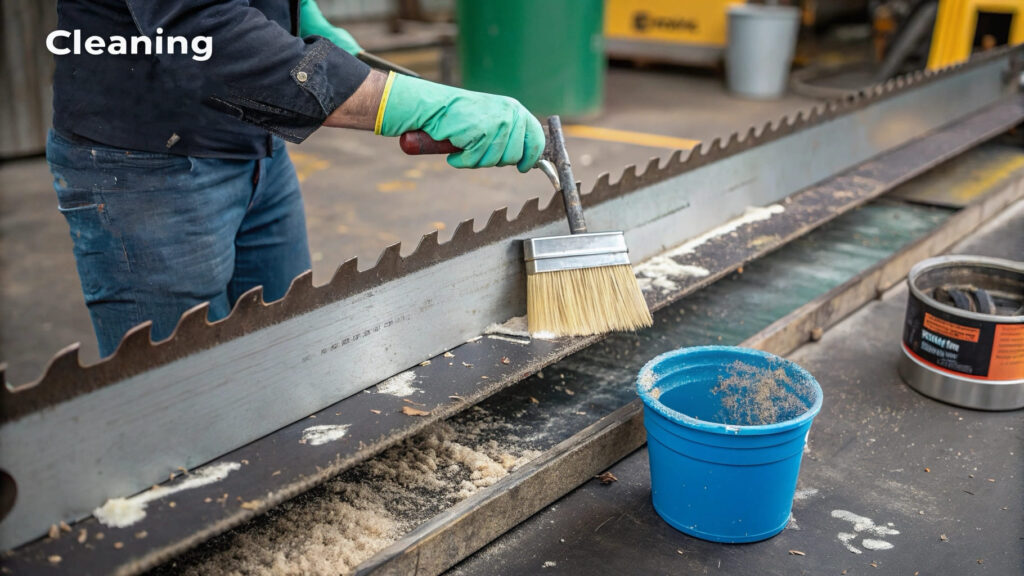
1. Quick Daily Cleaning
I suggest a simple daily cleaning routine if you cut large volumes of material. Buyers often ask me about quick solutions that do not require daily dismantling of the blade. I like to keep a soft brush on hand. After each cutting session, I gently brush the blade teeth in the direction of the tooth set. This step removes the surface dust and tiny chips that cling to the blade. If something is stubborn, I will use compressed air. A quick blast of air targets tight corners on the blade’s gullet. When I wipe the blade with a cloth, I remove any final traces of resin. This step takes only a few minutes, but it prevents buildup.
2. Soaking and Scrubbing
Sometimes the blade is too dirty for quick brushing. Resin and pitch can form stubborn layers, especially if you cut sap-heavy wood. In that case, I remove the blade from the machine and soak it in a suitable solvent. Some people use kerosene, while others prefer commercial blade cleaners. You can even use a citrus-based degreaser if you want something more eco-friendly. The soak can last 15 to 30 minutes, depending on how thick the residue is. After soaking, I gently scrub each tooth. A soft-bristled brush or an old toothbrush can reach tough angles. Some users also use a dull razor blade for scraping. This method works, but you must be careful not to scratch or damage the teeth.
3. Rinse and Dry
I rinse the blade to remove leftover solvent. Then I dry it thoroughly to prevent rust. You can use a clean towel, or compressed air, or place the blade in a warm, dry spot. Any moisture left behind can cause corrosion, especially if you store your blades in a humid area. That is why I always apply a light layer of rust inhibitor or a thin oil film as a final step. This helps keep the teeth protected until the next time you need the blade.
4. Safety Measures
Remember to wear protective gloves and eye protection when handling solvents or brushing the blade. The teeth are sharp, and the solvent fumes can be harmful in enclosed spaces. Ensure you have good ventilation if you use an organic solvent. By following these safety steps, you reduce the risk of accidents.
5. Maintenance Frequency
You might wonder how often you should deep-clean. My advice is to watch the blade’s performance. If you see dust collecting quickly, or if you notice smoke or burning smells during cuts, plan a soak or thorough cleaning. Some shops do it once a week; others wait until the blade’s performance drops. It depends on your workload. Either way, consistent cleaning prolongs blade life and saves your budget in the long run.
What is the best thing to clean saw blades?
Maybe you tried soapy water or random chemicals with mixed results. Do you want a reliable solution that does not damage your blade or cause corrosion?
The best cleaner often depends on your blade material and residue type. Many users prefer a dedicated blade cleaning solvent, kerosene, or a citrus-based degreaser for effective, safe results.

Best Saw Blade Cleaner
I have seen a range of products in my years in the industry. Some shops use simple detergents, while others rely on specialized formulas. Let’s explore which cleaner works for different needs.
Dive deeper into the best cleaners for band saw blades
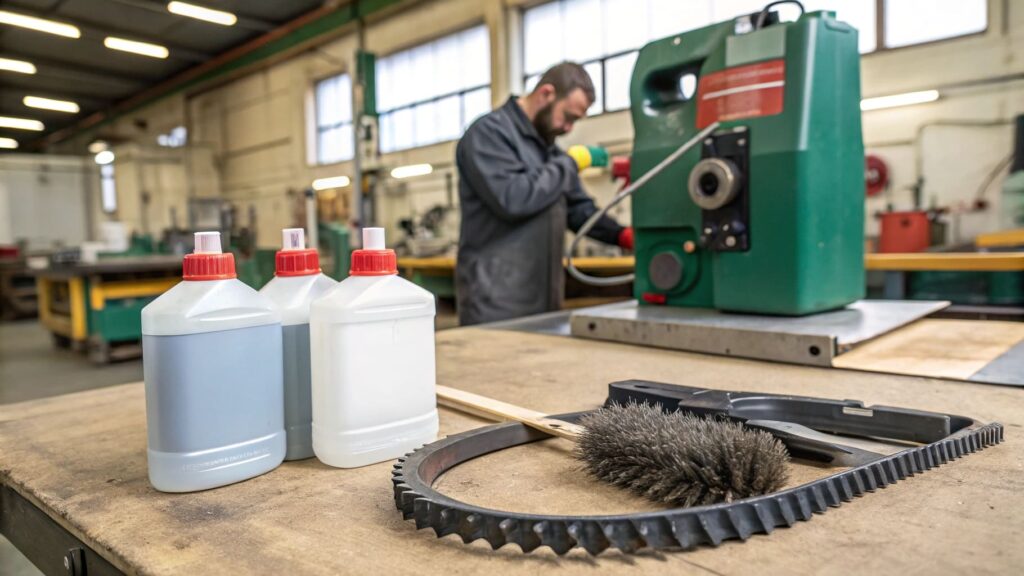
1. Solvent Choices
Buyers sometimes ask me if standard household cleaners can do the job. Mild dish soap can remove light dust but often struggles with thick gum. For tough resin, I recommend kerosene or commercial blade cleaners because they penetrate and break down sticky residue. Some blade cleaning solutions are biodegradable and do not emit harsh fumes. That can be a plus if your shop lacks strong ventilation.
| Cleaner Type | Pros | Cons |
|---|---|---|
| Kerosene | Effective on heavy resin | Flammable fumes, requires caution |
| Citrus-Based Degreaser | More eco-friendly, pleasant smell | May require scrubbing for thick buildup |
| Commercial Blade Cleaners | Tailored for resin removal | Some products can be pricey |
| Dish Soap | Good for light dirt | Not strong enough for stubborn pitch |
I like the citrus-based degreasers for everyday cleaning because they smell better and have less environmental impact. But if the buildup is extreme, kerosene cuts through it faster. It depends on your budget and your shop environment.
2. Application Methods
Using the right cleaner is half the story. The other half is how you apply it. When I apply a blade cleaner, I often let it soak for a while. That helps break down the pitch. Then I use a soft brush to remove residue. Steel wool or a small wire brush can help, but you must be gentle to avoid damaging the teeth. Some shops use a spray-on cleaner. They apply a thick layer, wait 30 seconds, then wipe with a cloth. That approach works for moderate dirt but might not be enough for heavy gum.
3. Ultrasonic Cleaning
Ultrasonic cleaning machines are another method. If you run a large operation, you might consider investing in this technology. You put the blade in a tank with water and a specialized cleaning solution. High-frequency sound waves create tiny bubbles that dislodge dirt from tight crevices. This process is gentle and thorough, though the equipment can be costly. It is also important to confirm that your blade’s weld and material can handle the ultrasonic vibrations without damage.
4. Checking for Damage
After cleaning, I inspect the blade for cracks, missing teeth, or excessive wear. Sometimes resin can hide small cracks. Once the blade is clean, you can see the metal surface. If you find significant damage, it might be time for a replacement. A fresh blade is cheaper than forcing a damaged one to keep cutting. Also, it prevents unexpected breakages that could harm your machine.
5. Preventive Measures
Cleaning is essential, but prevention can reduce how often you have to do a deep soak. If you cut resinous wood, consider using a lubricant or a blade-cooling device to reduce pitch buildup. Some operators use a chain saw oil and kerosene blend for bigger blades. Others use a simple vegetable oil spray for smaller blades. The idea is to minimize friction and let resin pass through, instead of sticking to the blade. Make sure not to over-lubricate, though, because a slippery blade can slip on the wheels or cause the cut to drift.
What is the most common cause of a ruined band saw blade?
Do you assume the blade just “got old” when it fails? Or do you suspect poor alignment? Let’s see what often destroys band saw blades prematurely.
The most common cause of a ruined band saw blade is improper maintenance and cleaning, which leads to overheating, gum buildup, and tooth damage over time.
Band Saw Blade
Many people think dull teeth are normal. I learned that ignoring resin accumulation and failing to lubricate are far more damaging. Let’s break this down.
Dive deeper into the main reasons behind a ruined blade
1. Neglecting Routine Cleaning
Resin, sawdust, and other debris can form thick layers on the teeth. That buildup traps heat. The blade runs hotter, especially at higher speeds. When a blade overheats, it loses temper. The steel can soften, causing tooth tips to wear quickly or even break. If you rarely clean your blade, you shorten its life.
2. Improper Lubrication and Cooling
Some materials generate more heat than others. Dense hardwood or thick metal can cause friction. If you do not use a coolant or lubrication, the heat intensifies. Over time, the blade warps or teeth chip. A small bit of oil or a dedicated coolant can solve this problem. In my experience, using a 50/50 blend of chain saw oil and kerosene on 1-inch or wider blades helps. For smaller blades, a light spray of lubricant does the trick. I remind customers not to over-apply, because you do not want the blade slipping on the wheels.
clean band saw blade
3. Incorrect Tension and Alignment
Setting the wrong tension or failing to align your saw’s guides can ruin even a new blade. If the tension is too high, you risk over-stressing the steel. If it is too low, the blade can deflect and bind. That leads to side wear on the teeth. Checking your saw’s manual helps you find the correct tension range for your blade width. Also, ensure that the blade runs straight through the guides. Misalignment can cause tooth tips to rub on metal, dulling them prematurely.
4. Forcing Cuts
I have seen operators push material too fast or feed at an angle. The blade teeth can jam. That force causes tooth breakage or blade twisting. It is especially risky with dense hardwood or thick metal stock. If your machine power or blade tooth form is not matched to the material, you can overburden the blade. Patience pays off. Let the blade do the work at a steady feed rate.
5. Overlooking Early Warning Signs
Buyers sometimes miss the subtle hints of blade fatigue. Smoke, squealing noises, or a sudden shift in cut accuracy indicate trouble. If the blade starts to show these signs, it might be time for a cleaning session or a tooth inspection. Ignoring these signals can lead to a catastrophic blade break during an important cut. That wastes material, time, and money. A quick inspection can save a lot of hassle.
| Cause | Effect | Prevention Method |
|---|---|---|
| Resin Build-up | Overheating, dull teeth | Routine cleaning, proper solvent |
| No Lubrication | Excess friction, tooth damage | Apply correct oil/coolant |
| Incorrect Tension | Blade deflection, cracked welds | Follow machine tension guidelines |
| Forcing the Cut | Broken teeth, warping | Steady feed, match blade to job |
| Ignored Warning Signs | Sudden breakage, lost production | Inspect blade regularly |
This table shows the leading issues and quick prevention tips. After seeing many blades fail from these problems, I encourage every buyer to adopt a regular cleaning schedule and to adjust tension carefully. Maintenance is far cheaper than replacing blades too often.
Conclusion
A clean band saw blade delivers precise cuts, resists friction, and lasts longer. Regular brushing, correct solvents, and preventive steps against resin buildup help you get the best performance from your blades.